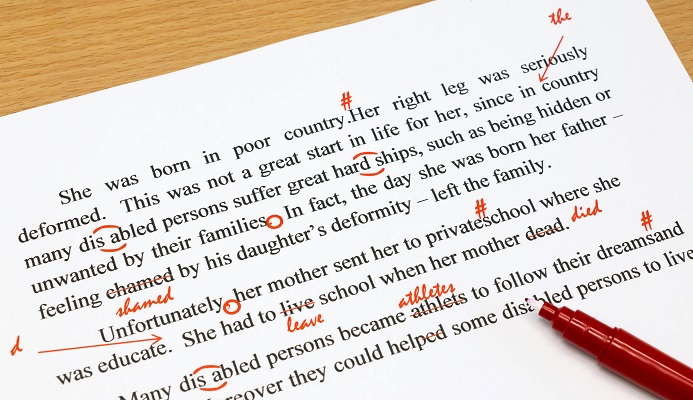
Sick of having autocorrect get in your way every time you are trying to tend to your Microsoft word documents? Eliminate the hassle and even get help instead by using autocorrect to your advantage! You can actually customise this feature to make the most of it. Here’s what to do:
- Main Dictionary
By default, autocorrect should be set to match and correct words with a spell checker that references the main dictionary. If you have made changes and would like to revert back to using the main dictionary, choose the autocorrect tab and look for Automatically use suggestions from spell checker. Select the option if it was not selected and hit okay.
- Adding/Changing Entries
Make sure the autocorrect feature on your Microsoft Word software program has been selected. Using the replace section, type in the word you wish to replace and type the word you want to replace it with in the With section. Once done, choose add. To change, select the list and type in new entries in the with section.
- Correcting capitalisation
Specify exceptions with your own capitalisation rules. You can do so by using the autocorrect tab and choosing exceptions to access the capitalisation options. Depending on your requirements, you can choose between correcting two initial capitals so that specific words containing mixed upper and lowercase words are not corrected, specific words, first letter capitalisation and more.
- Exception
Exceptions are the words autocorrect is programmed to ignore. If you have words that are not included in Microsoft Word’s dictionary but are similar to some words from it, autocorrect may constantly change the spelling of your word. This happens with words like names and the like, and the last thing you want to do when sending documents or performing important tasks, to misspell someone’s name. You can program autocorrect with an exceptions list so that these words aren’t replaced.
Look for your autocorrect tab and choose Other corrections. Type in the word you want autocorrect to stop correcting in the don’t correct section and simply add them. Once done, click ok and you will have a smooth working process.
- Turn Off
If you decide that you’d rather do without the changes and replacements autocorrect makes, you can actually choose to turn off the autocorrect feature in Microsoft Word. Simply access your autocorrect function by clicking File and choosing Options. Select proofing, this will enable you to make autocorrect options. Clear all the checkboxes at the top and turn off automatic capitalisation. If you have replace text, clear them. This should effectively turn off autocorrect for you.
